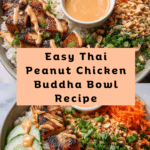
Thai Peanut Chicken Buddha Bowl Recipe
Introduction
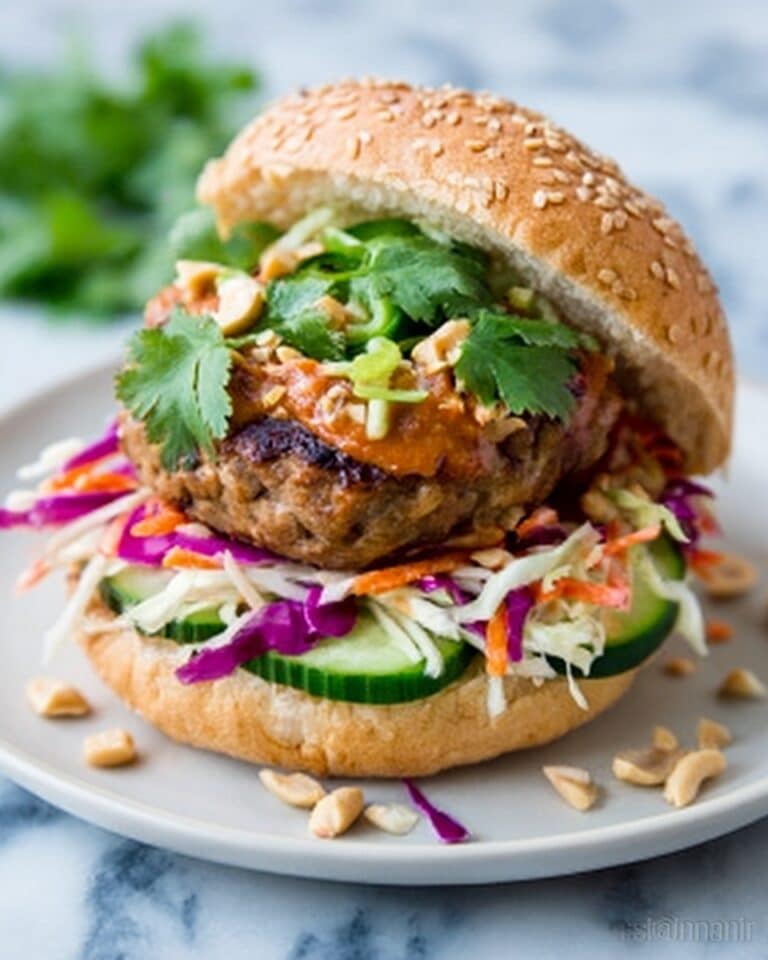
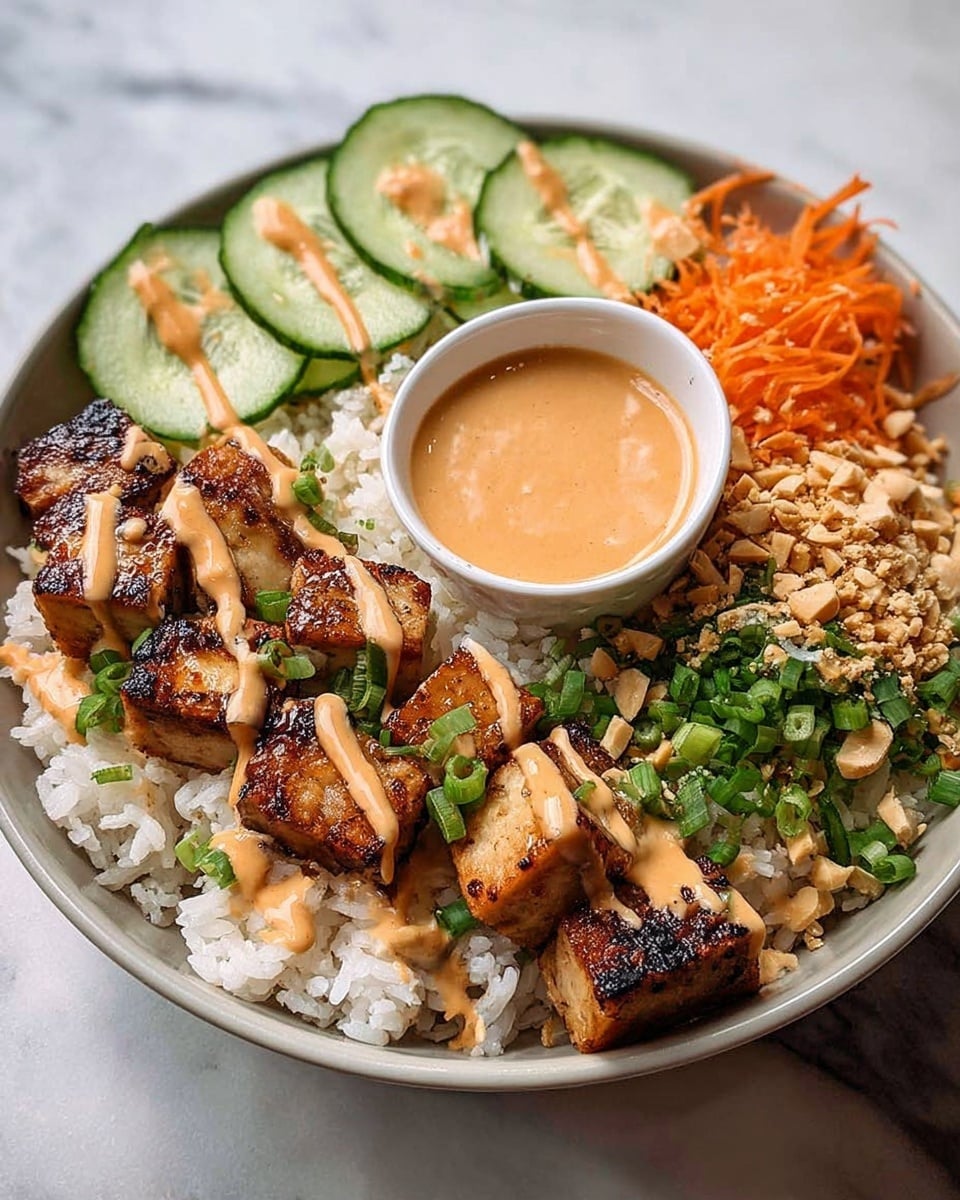
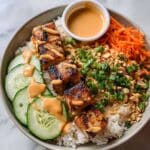
This Thai Peanut Chicken Buddha Bowl is a vibrant, satisfying meal perfect for busy weeknights or meal prep. Featuring tender chicken coated in a creamy peanut sauce, fresh shredded veggies, and nutty brown rice, it balances flavors and textures effortlessly.
Ingredients
- 1.5 lbs boneless, skinless chicken breast, cut into 1-inch pieces
- 1 cup uncooked brown rice
- 1/2 cup creamy peanut butter
- 1/4 cup low-sodium soy sauce or tamari
- 2 tablespoons fresh lime juice
- 2 tablespoons honey or maple syrup
- 2 cups shredded red cabbage and carrot mix
- 1 tablespoon olive oil or sesame oil
Instructions
- Step 1: Cook the base. Prepare the 1 cup of brown rice according to package directions (typically 1 part rice to 2 parts water) and let it simmer until tender, usually about 40 minutes. Set the cooked rice aside while preparing the other components.
- Step 2: Prepare the peanut sauce. In a small bowl, whisk together the peanut butter, soy sauce, lime juice, honey, and 1/4 cup of hot water until the mixture is smooth and creamy. Taste and adjust consistency if necessary, adding more water if the sauce is too thick. Reserve half of the finished sauce for drizzling later.
- Step 3: Cook the chicken. Heat the olive oil in a large skillet over medium-high heat. Add the chicken pieces and sauté for 5-7 minutes until they are cooked through and lightly browned. Pour the non-reserved half of the peanut sauce over the chicken and cook for 2 minutes, stirring continuously until the chicken is fully coated and the sauce is heated through.
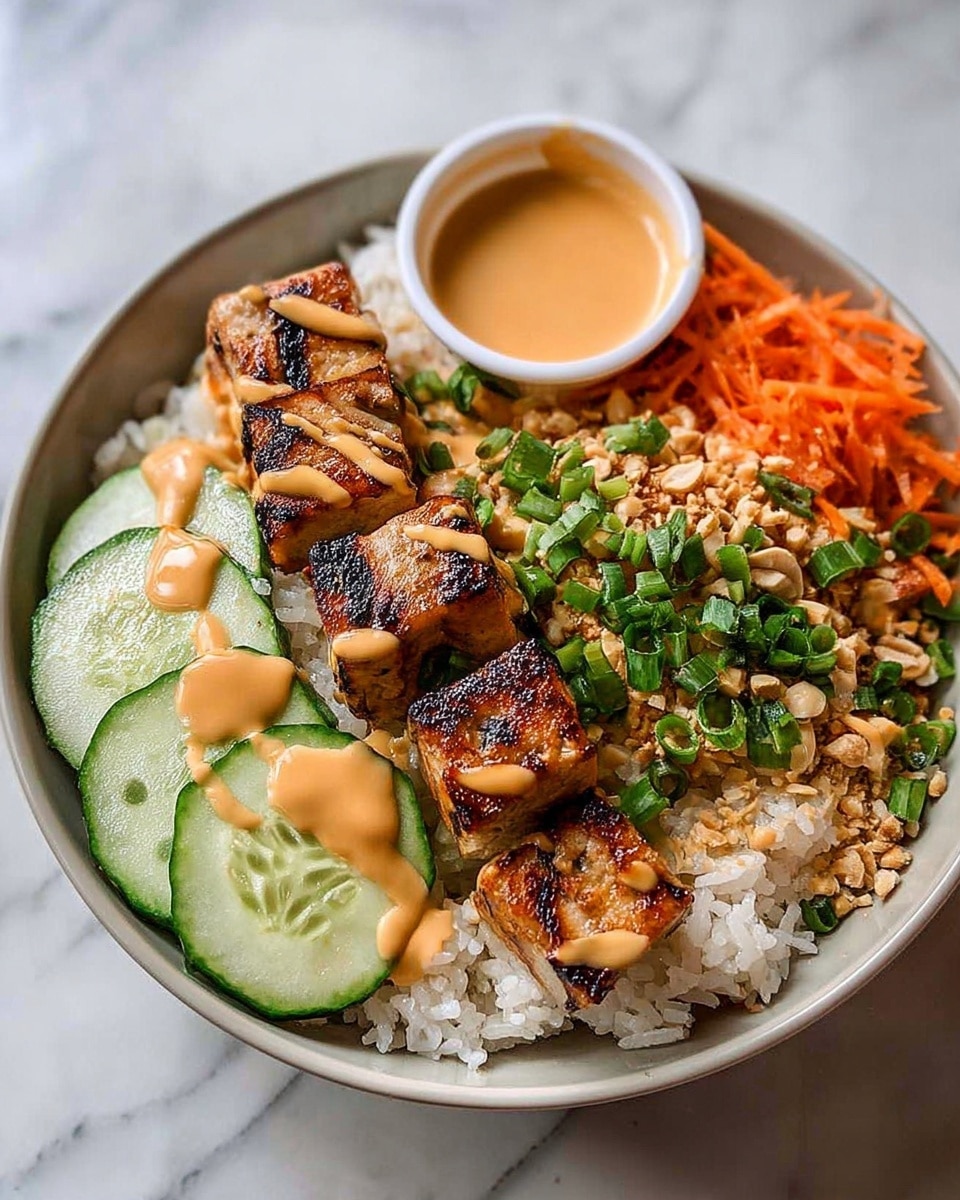
- Step 4: Assemble the bowls. Divide the cooked brown rice evenly among 4 large serving bowls. Place a generous portion of the sauced peanut chicken on one side of the rice and arrange a portion of the shredded cabbage and carrot mixture on the other side.
- Step 5: Finish and serve. Drizzle the remaining reserved peanut sauce over the chicken and vegetables in each bowl. Garnish the bowls with chopped peanuts and fresh cilantro (optional) before serving immediately.
Tips & Variations
- Use truly hot water when mixing the peanut sauce if your peanut butter is stiff or refrigerated to help emulsify the sauce smoothly.
- Keep the shredded vegetables separate until serving to maintain their crunch and freshness.
- Add a sprinkle of chopped dry-roasted peanuts and fresh cilantro just before serving for added texture and brightness.
- Swap brown rice for quinoa or cauliflower rice for a different texture or lower-carb option.
Storage
Store the sauced chicken and rice base in an airtight container for up to 3 days in the refrigerator. Keep the shredded vegetables separate until ready to serve. When reheating, warm the chicken and rice gently in a skillet over low heat, adding a splash of water or broth to keep the rice moist. Drizzle the reserved peanut sauce fresh over the bowls just before serving.
How to Serve
Serve this delicious recipe with your favorite sides.
FAQs
Can I use peanut butter alternatives for this recipe?
Yes, you can substitute peanut butter with almond butter or sunflower seed butter for a different flavor or to accommodate allergies. The texture and creaminess will remain similar.
Is this recipe suitable for meal prep?
Absolutely. The components store well separately, making it an excellent option for preparing meals ahead. Just assemble and garnish when ready to eat for best freshness.
PrintThai Peanut Chicken Buddha Bowl Recipe
This Thai Peanut Chicken Buddha Bowl combines tender chicken breast sautéed in a creamy, tangy peanut sauce served over a bed of fluffy brown rice and fresh shredded red cabbage and carrot mix. This wholesome and flavorful bowl is perfect for a balanced lunch or dinner, offering a delicious fusion of Asian-inspired flavors with a satisfying crunch and juicy protein.
- Prep Time: 15 minutes
- Cook Time: 20 minutes
- Total Time: 35 minutes
- Yield: 4 servings 1x
- Category: Main Dish
- Method: Stovetop
- Cuisine: American
Ingredients
Chicken and Rice
- 1.5 lbs boneless, skinless chicken breast, cut into 1-inch pieces
- 1 cup uncooked brown rice
- 1 tablespoon olive oil or sesame oil
Peanut Sauce
- 1/2 cup creamy peanut butter
- 1/4 cup low-sodium soy sauce or tamari
- 2 tablespoons fresh lime juice
- 2 tablespoons honey or maple syrup
- 1/4 cup hot water (for thinning sauce)
Vegetables and Garnish
- 2 cups shredded red cabbage and carrot mix
- Chopped peanuts (optional, for garnish)
- Fresh cilantro leaves (optional, for garnish)
Instructions
- Cook the base: Prepare the brown rice according to package directions, typically using a 1:2 rice-to-water ratio. Bring to a boil, then reduce to a simmer and cook until tender, about 40 minutes. Once cooked, fluff the rice and set aside.
- Prepare the peanut sauce: In a small bowl, whisk together creamy peanut butter, soy sauce, fresh lime juice, honey, and 1/4 cup of hot water. Mix until smooth and creamy, adjusting with more hot water if the sauce is too thick. Reserve half of this sauce for drizzling later.
- Cook the chicken: Heat olive oil or sesame oil in a large skillet over medium-high heat. Add the cut chicken pieces and sauté for 5-7 minutes until cooked through and lightly browned. Pour the remaining half of the peanut sauce over the chicken, stirring continuously and cooking for an additional 2 minutes until the chicken is fully coated and the sauce is heated through.
- Assemble the bowls: Divide the cooked brown rice evenly among four bowls. On one side of each bowl, place a generous portion of the peanut sauce-coated chicken. On the other side, add the shredded cabbage and carrot mixture.
- Finish and serve: Drizzle the reserved peanut sauce over the chicken and vegetables in each bowl. Garnish with chopped peanuts and fresh cilantro if desired. Serve immediately for best texture and flavor.
Notes
- Store the cooked chicken and rice in an airtight container in the refrigerator for up to 3 days; keep the shredded vegetables separate until ready to serve to maintain crunch.
- When reheating, warm chicken and rice gently in a skillet over low heat with a splash of water or broth to prevent drying out, then drizzle with fresh peanut sauce.
- Add chopped dry-roasted peanuts and fresh cilantro just before serving to enhance texture and flavor.
- Use hot water when blending the peanut sauce if the peanut butter is stiff or refrigerated to help emulsify quickly.
Keywords: Thai Peanut Chicken, Buddha Bowl, Peanut Sauce, Brown Rice, Healthy Meal, Asian Inspired, Chicken Bowl, Easy Dinner