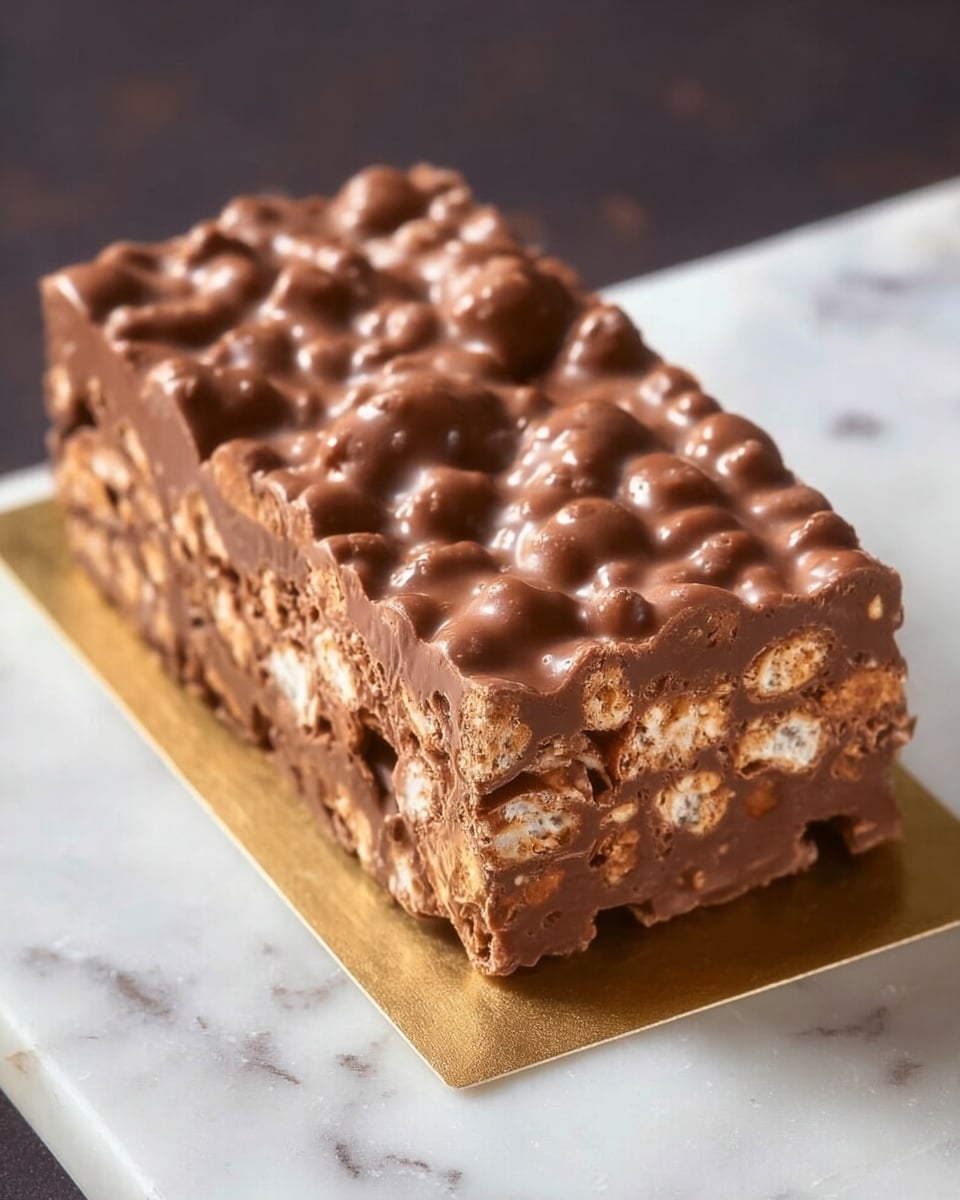
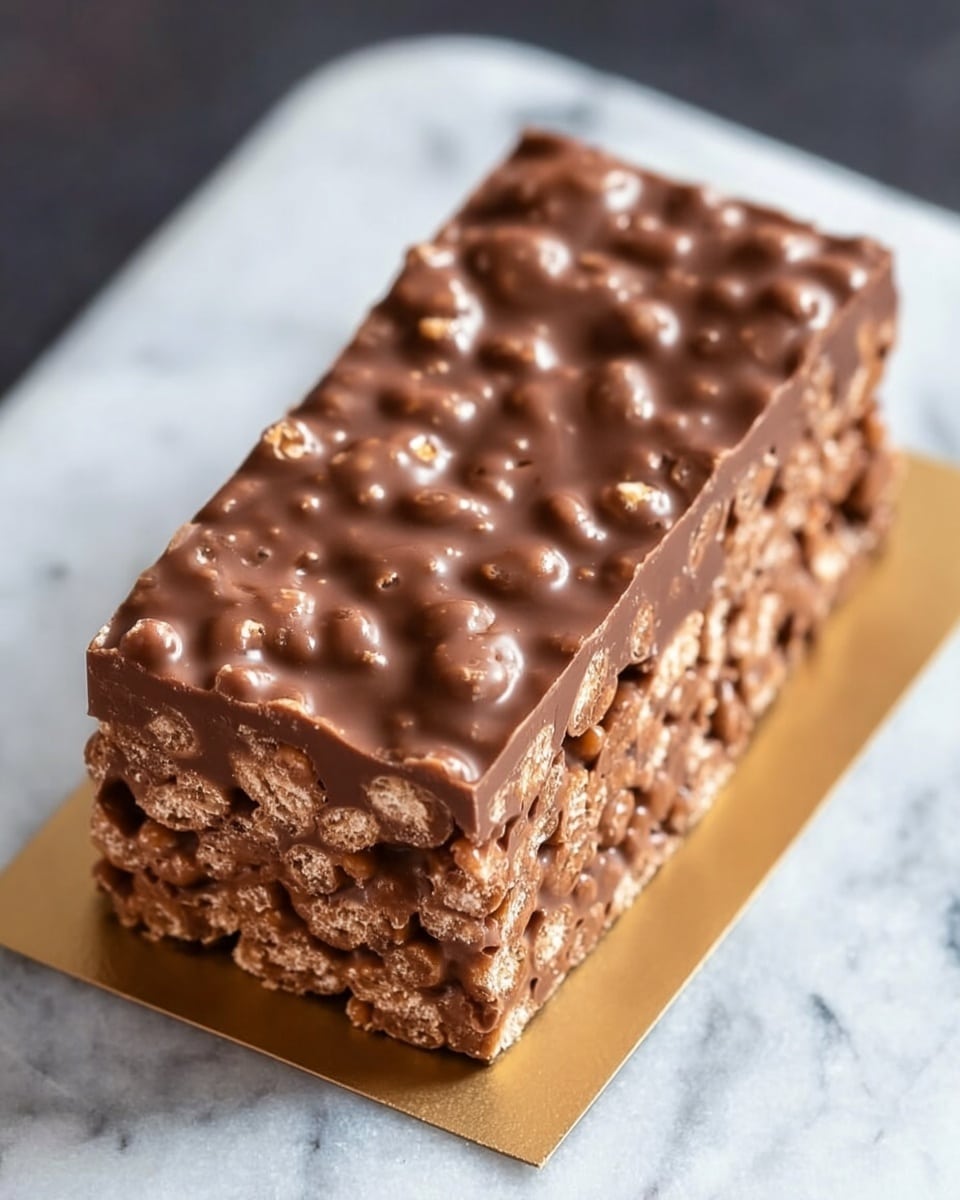
Homemade Crunch Bars Recipe
Introduction
These Homemade Crunch Bars are a simple and satisfying treat perfect for snacking or dessert. Combining crispy rice cereal with a smooth chocolate-peanut butter mixture, they deliver a delightful crunch and rich flavor with minimal effort.
Ingredients
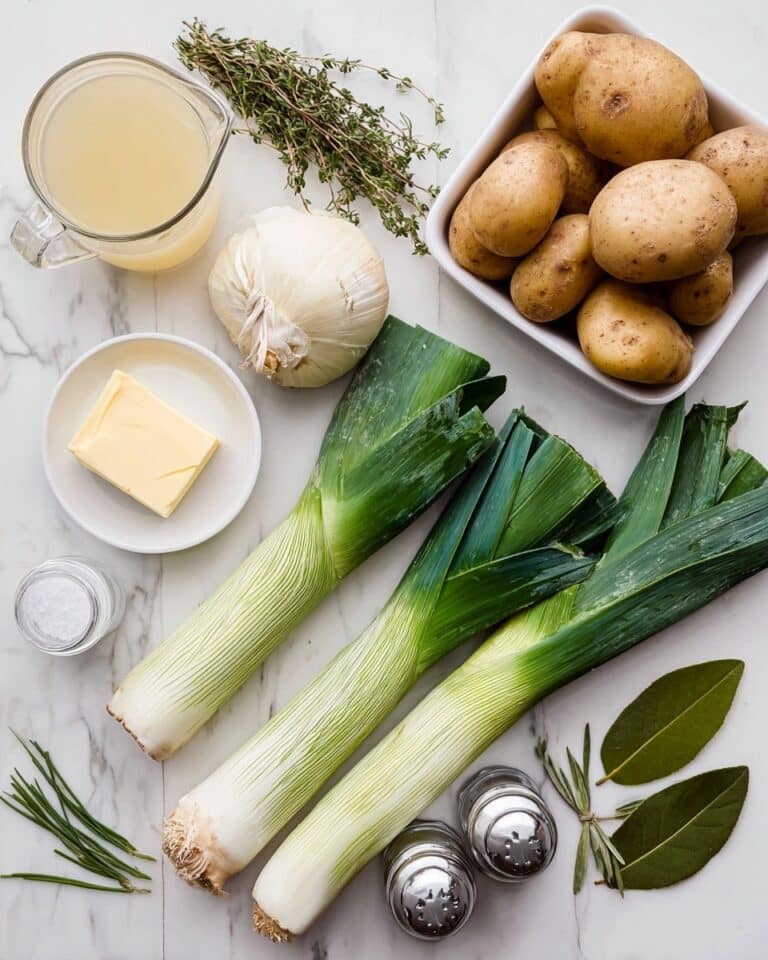
- 3 cups crispy rice cereal
- 1 1/2 cups chocolate chips
- 1 cup peanut butter (can substitute any nut or seed butter)
- 1/2 cup maple syrup
- 1/4 cup coconut oil (can substitute grass fed butter)
Instructions
- Step 1: Line an 8 x 8-inch baking dish or a deep baking tray of your choice with parchment paper and set it aside.
- Step 2: Place the crispy rice cereal into a large mixing bowl and set aside.
- Step 3: In a microwave-safe bowl or on the stovetop, combine the chocolate chips, peanut butter, maple syrup, and coconut oil. Heat gently until melted, then whisk until the mixture is fully combined and smooth.
- Step 4: Pour the melted chocolate and peanut butter mixture over the crispy rice cereal. Stir gently but thoroughly until all the cereal is evenly coated.
- Step 5: Transfer the mixture to the prepared baking dish, pressing it down evenly. Refrigerate for at least one hour until firm.
- Step 6: Once set, remove from the fridge and cut into bars. Serve and enjoy!
Tips & Variations
- For a nut-free version, substitute the peanut butter with sunflower seed butter or tahini.
- Add a pinch of sea salt on top before refrigerating to enhance the chocolate and peanut butter flavors.
- Mix in chopped nuts, dried fruit, or seeds for extra texture and nutrition.
- Use dark chocolate chips for a richer, less sweet taste.
Storage
Store Crunch Bars in an airtight container at room temperature for up to 2 weeks to keep them fresh. For longer storage, wrap individual bars in parchment paper and place them in a ziplock bag to freeze. They will keep well in the freezer for up to 6 months. To enjoy, thaw at room temperature before eating.
How to Serve
Serve this delicious recipe with your favorite sides.
FAQs
Can I use a different type of cereal?
Yes, while crispy rice cereal works best for the classic crunch, you can try puffed quinoa or millet for a different texture. Just keep in mind that the flavor and crunch may vary.
Is it possible to make these bars vegan?
Absolutely. Use vegan chocolate chips and ensure the peanut butter and maple syrup you choose are all plant-based. Coconut oil is already vegan, making these bars suitable for a vegan diet.
PrintHomemade Crunch Bars Recipe

These Homemade Crunch Bars are a delightful no-bake treat combining crispy rice cereal with a luscious blend of chocolate, peanut butter, maple syrup, and coconut oil. Perfect for a quick snack or a sweet dessert, these bars offer a satisfying crunch and rich flavor without any baking required.
- Prep Time: 10 minutes
- Cook Time: 5 minutes
- Total Time: 1 hour 15 minutes
- Yield: 12 bars 1x
- Category: Dessert
- Method: No-Cook
- Cuisine: American
Ingredients
Dry Ingredients
- 3 cups crispy rice cereal
Wet Ingredients
- 1 1/2 cups chocolate chips
- 1 cup peanut butter (can substitute any nut or seed butter)
- 1/2 cup maple syrup
- 1/4 cup coconut oil (can substitute for grass fed butter)
Instructions
- Prepare the Baking Dish: Line an 8 x 8-inch baking dish or a deep baking tray of your choice with parchment paper and set it aside for later use.
- Combine Dry Ingredients: Place the 3 cups of crispy rice cereal into a large mixing bowl and set it aside while you prepare the chocolate mixture.
- Heat Wet Ingredients: In a microwave-safe bowl or on the stovetop, combine the chocolate chips, peanut butter, maple syrup, and coconut oil. Heat the mixture until fully melted and then whisk it thoroughly until smooth and completely incorporated.
- Mix Ingredients: Pour the melted chocolate and peanut butter mixture over the crispy rice cereal and stir until all the cereal is evenly coated and combined.
- Set the Bars: Transfer the mixture into the prepared baking dish, spreading it out evenly. Refrigerate for at least one hour or until firm.
- Cut and Serve: Once set, remove from the refrigerator and lift the mixture from the dish using the parchment paper. Cut into bars of your desired size and enjoy.
Notes
- Storage: Store the crunch bars at room temperature in a sealable container for up to 2 weeks.
- Freezing: For longer storage, wrap individual bars in parchment paper and place them in ziplock bags. They can be frozen for up to 6 months.
- Substitutions: You can substitute peanut butter with any nut or seed butter of your choice, and coconut oil with grass-fed butter.
- Variations: Try this recipe with keto-friendly ingredients to make Keto Crunch Bars.
Keywords: homemade crunch bars, no bake dessert, crispy rice cereal bars, peanut butter bars, chocolate bars, easy snack, sweet treat