Christmas Cherry Bars Recipe
Introduction
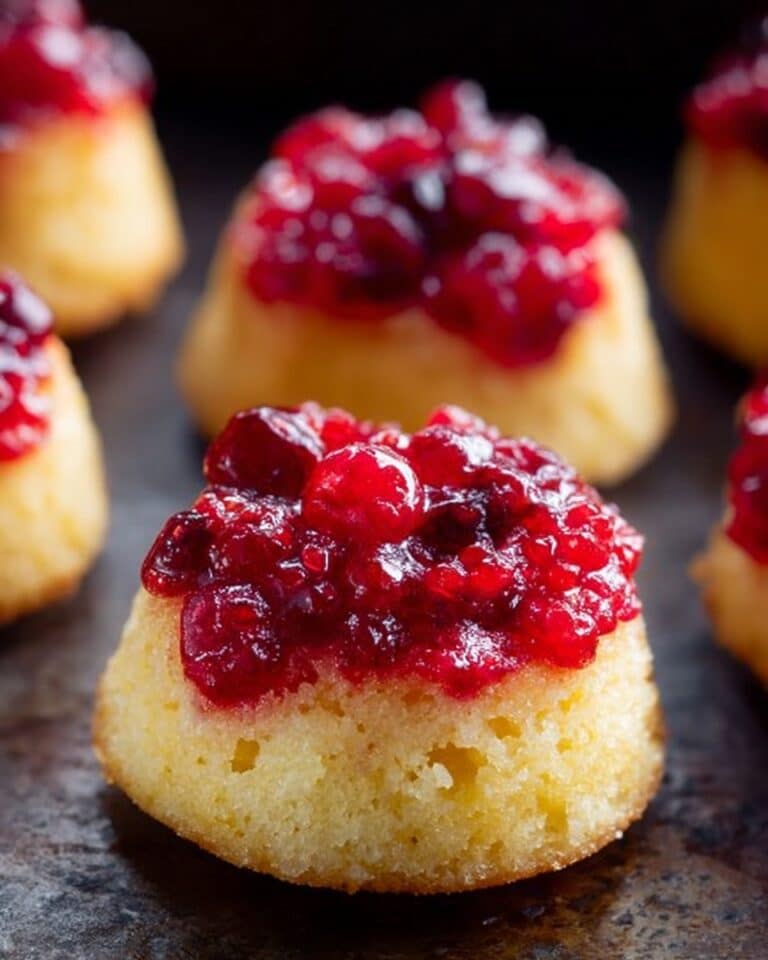
Christmas Cherry Bars are a festive holiday treat featuring buttery layers with a sweet cherry filling. Easy to make and perfect for gatherings, these bars bring cherry pie warmth in a convenient, grab-and-go form.
Ingredients
- 1 cup (2 sticks) unsalted butter, softened
- 2 cups granulated sugar
- 4 large eggs, room temperature
- 1 teaspoon vanilla extract
- 3 cups all-purpose flour, spooned and leveled
- 1 teaspoon salt
- 1 (21-ounce) can cherry pie filling
For the glaze:
- 1 cup powdered sugar
- 2 tablespoons milk
- ½ teaspoon vanilla extract
Instructions
- Step 1: Preheat the oven to 350°F (175°C). Grease a 9×13-inch pan or line it with parchment paper to prevent sticking.
- Step 2: In a large bowl, beat butter and sugar on medium speed until pale and fluffy, about 3 minutes.
- Step 3: Add eggs one at a time, mixing well after each addition. Stir in vanilla extract.
- Step 4: In a separate bowl, whisk together flour and salt. With the mixer on low, gradually add the dry ingredients to the wet until just combined.
- Step 5: Scoop out about 1 cup of batter and set aside. Press the remaining batter evenly into the prepared pan to form the crust.
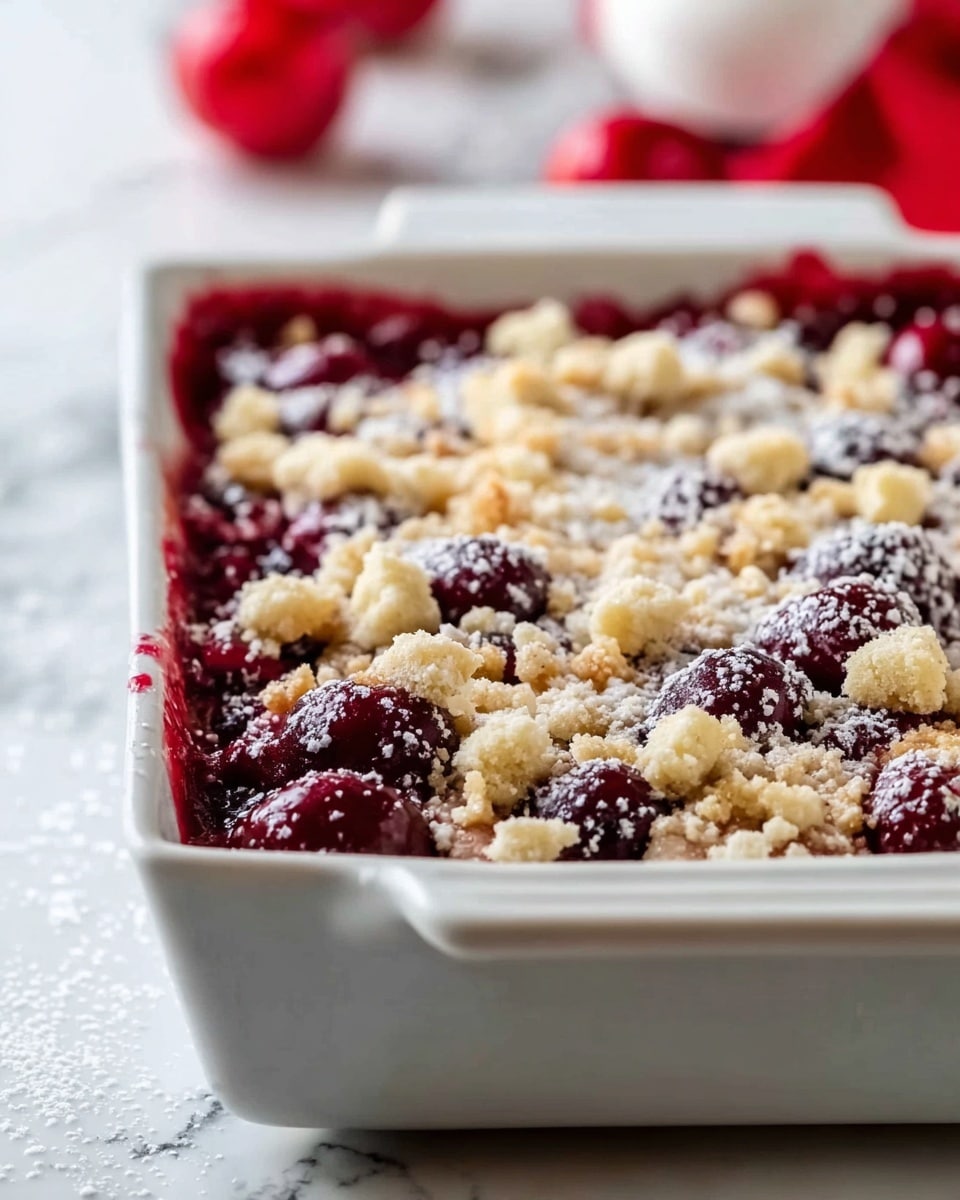
- Step 6: Spread the cherry pie filling over the crust. It’s okay if the layer is uneven; it adds character.
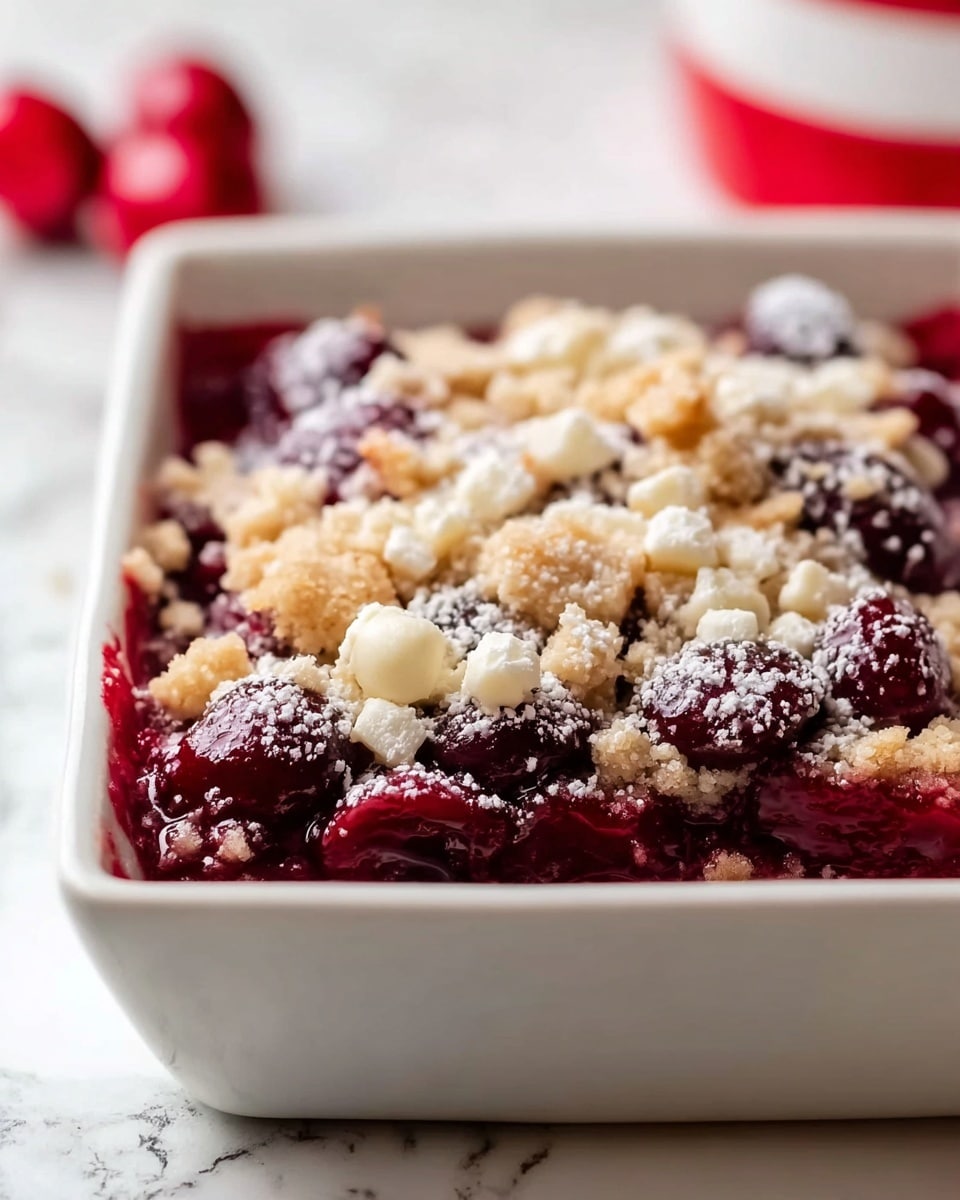
- Step 7: Drop spoonfuls of the reserved batter over the cherries, allowing peaks and valleys to form naturally.
- Step 8: Bake for 35–40 minutes, until edges are light golden and a toothpick inserted in the center comes out with moist crumbs but no wet batter. Let cool in the pan for 15 minutes.
- Step 9: Whisk together powdered sugar, milk, and vanilla extract until smooth. Drizzle the glaze over the warm bars in a back-and-forth motion. Allow glaze to set for about 10 minutes before slicing and serving.
Tips & Variations
- Try swapping cherry pie filling with blueberry or raspberry for a mixed-berry twist.
- Add a chocolate drizzle by melting ½ cup dark chocolate chips and zig-zagging it over the bars before glazing.
- Stir in ½ cup shredded coconut into the batter to introduce a light tropical flavor.
- Sprinkle chopped pecans or almonds over the cherry layer before adding the reserved batter for a nutty crunch.
Storage
Store the bars at room temperature in an airtight container for up to 2 days, or refrigerate for up to one week. To freeze, layer bars between parchment paper in a freezer-safe container for up to three months. Thaw overnight in the refrigerator, then warm gently at 300°F for 5–7 minutes if you prefer them slightly warm.
How to Serve
Serve this delicious recipe with your favorite sides.
FAQs
Can I use fresh cherries instead of canned?
Yes, pit about 3 cups of fresh cherries and toss with ¼ cup sugar and 1 tablespoon cornstarch. Simmer until thickened, then fully cool before layering in the bars.
How do I know when the bars are done?
The bars are done when the edges turn light golden and a toothpick inserted in the center comes out with a few moist crumbs but no wet batter.
What if I want the bars less sweet?
You can reduce the sugar to 1½ cups, but lowering it further may affect the texture, making it gummy. The tartness of the cherries helps balance the sweetness well.
Is there a gluten-free option?
Yes, substitute the all-purpose flour with a 1:1 gluten-free baking blend. You might need to add a minute or two extra baking time.
Do I have to add the glaze?
The bars are delicious on their own. The glaze adds a touch of sweetness and a pretty vanilla finish but is optional.
PrintChristmas Cherry Bars Recipe
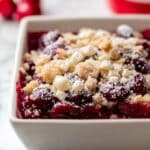
Christmas Cherry Bars are a festive holiday treat featuring a buttery base layered with sweet cherry pie filling and topped with a delicate vanilla glaze. These easy-to-make bars combine nostalgic cherry pie flavors with the convenience of a grab-and-go dessert, perfect for Christmas gatherings or cozy winter celebrations.
- Prep Time: 15 minutes
- Cook Time: 40 minutes
- Total Time: 55 minutes
- Yield: 24 bars 1x
- Category: Dessert
- Method: Baking
- Cuisine: American, Christmas
Ingredients
Batter
- 1 cup (2 sticks) unsalted butter, softened
- 2 cups granulated sugar
- 4 large eggs, room temperature
- 1 teaspoon vanilla extract
- 3 cups all-purpose flour, spooned and leveled
- 1 teaspoon salt
Cherry Layer
- 1 (21-ounce) can cherry pie filling
Glaze
- 1 cup powdered sugar
- 2 tablespoons milk
- ½ teaspoon vanilla extract
Instructions
- Preheat Oven: Preheat the oven to 350°F (175°C). Grease a 9×13-inch pan or line it with parchment to prevent sticking.
- Cream Butter and Sugar: In a large bowl, beat the softened butter and sugar on medium speed until pale and fluffy, about 3 minutes.
- Add Eggs and Vanilla: Add eggs one at a time to the butter mixture, mixing well after each addition, then stir in the vanilla extract.
- Combine Dry Ingredients: In a separate bowl, whisk together the flour and salt. With the mixer on low speed, gradually add the dry ingredients to the wet mixture until just combined.
- Prepare Base Layer: Scoop out about 1 cup of the batter and set aside. Press the remaining batter evenly into the prepared pan to form a solid base crust.
- Add Cherry Filling: Spread the cherry pie filling evenly over the crust. It’s okay if some spots are uneven, as this adds to the rustic charm.
- Top with Reserved Batter: Drop spoonfuls of the reserved batter over the cherry layer, allowing peaks and valleys to naturally form.
- Bake: Bake for 35 to 40 minutes, until the edges are light golden and a toothpick inserted in the center comes out with moist crumbs, not wet batter. Let cool in the pan for 15 minutes.
- Make the Glaze: Whisk together powdered sugar, milk, and vanilla extract until smooth. Drizzle the glaze over the warm bars using a back-and-forth motion.
- Set and Slice: Allow the glaze to set for about 10 minutes before slicing into bars. Serve and enjoy!
Notes
- Try adding a sprinkle of almond extract to the batter for an extra touch of holiday flavor.
- If you want to make these bars less sweet, reduce sugar to 1½ cups, but be cautious as too little sugar may affect texture.
- For a gluten-free version, substitute all-purpose flour with a 1:1 gluten-free flour blend and add a couple extra minutes to the baking time.
- You can swap cherry pie filling with other pie fillings like blueberry or raspberry for variation.
- Bars can be stored at room temperature for up to 2 days in an airtight container or refrigerated for up to one week.
- Freeze bars for up to three months between layers of parchment paper. Thaw overnight in the fridge and warm at 300°F for 5–7 minutes before serving.
Keywords: baked goods, Cherry Bars, Christmas Treat, holiday dessert, cherry pie, festive dessert