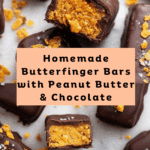
Butterfingers Recipe
Introduction
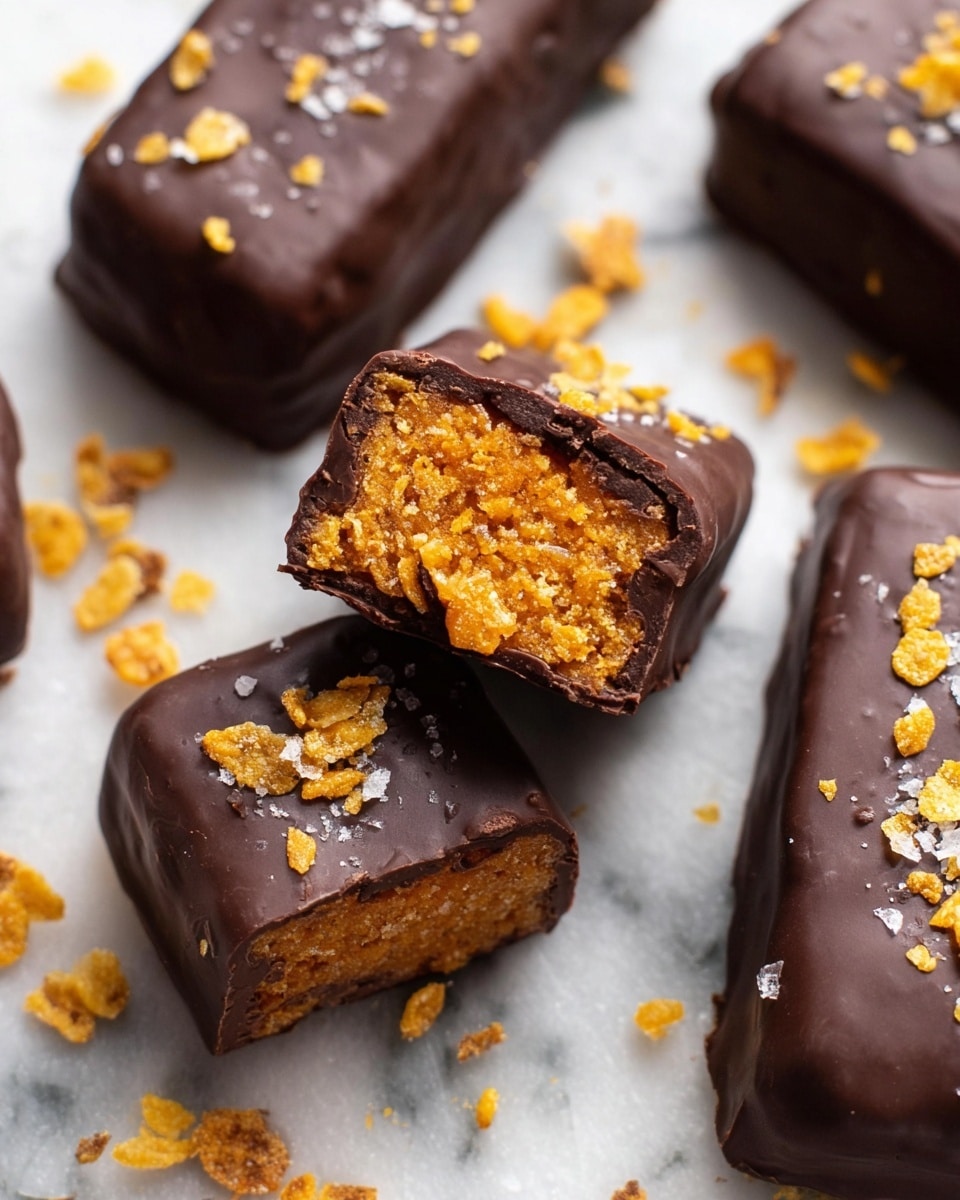
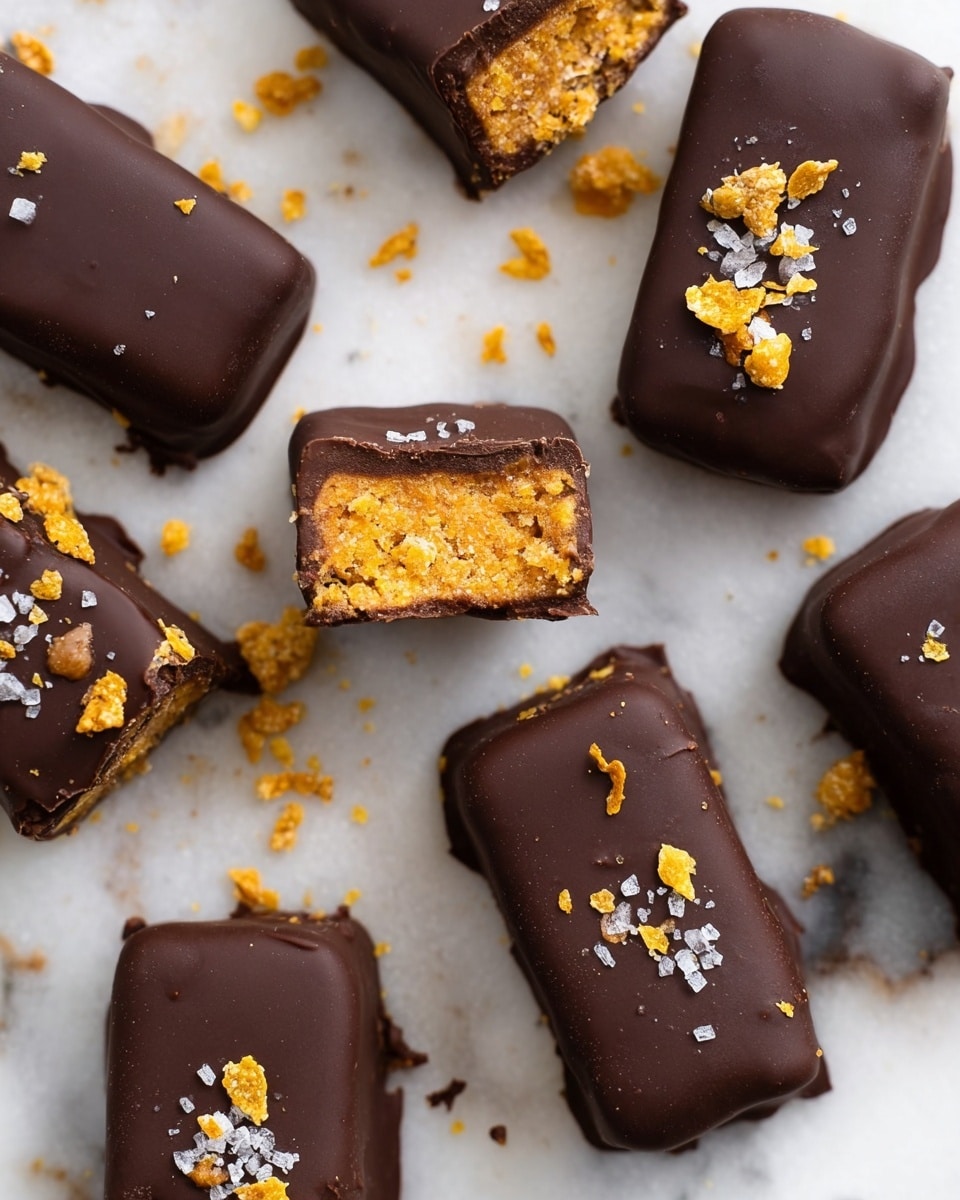
These homemade Butterfingers are a delightful treat combining crunchy corn flakes, creamy peanut butter, and a rich chocolate coating. Quick to prepare and perfect for satisfying your sweet tooth, they offer the nostalgic flavor of the classic candy bar in a simple, homemade version.
Ingredients
- 1 cup peanut butter
- 1/3 cup maple syrup or honey
- 2 cups corn flakes
- 1 cup chocolate chips
- 2 teaspoons coconut oil
Instructions
- Step 1: Place the corn flakes in a large zip-top bag, seal it, and crush the cereal into small pieces using your hands or a rolling pin.
- Step 2: In a large bowl, mix together the peanut butter and maple syrup or honey until combined. Add the crushed corn flakes and stir well to fully incorporate.
- Step 3: Line a loaf pan with parchment paper and transfer the mixture into it. Press the cereal mixture down evenly to form a compact layer. Place the pan in the freezer to harden for at least 1 hour.
- Step 4: Remove the pan from the freezer and carefully lift out the hardened mixture using the parchment paper. Place it on a cutting board and cut into 12 bars.
- Step 5: Melt the chocolate chips and coconut oil together in a heatproof bowl, stirring until smooth. Dip each bar into the melted chocolate, ensuring it is fully coated. Set the coated bars on a parchment-lined plate.
- Step 6: Place the chocolate-coated bars back in the freezer for about 10 minutes until the chocolate hardens. Enjoy immediately or store as directed below.
Tips & Variations
- For a crunchier texture, use crunchy peanut butter instead of smooth.
- Substitute corn flakes with crispy rice cereal for a different crunch.
- If you prefer a sweeter bar, add a pinch of salt to balance the flavors.
- Use dairy-free chocolate chips to keep this recipe vegan-friendly.
Storage
Store the Butterfingers in an airtight container in the freezer for up to 3 months. To enjoy, simply remove from the freezer and allow them to sit at room temperature for a few minutes before eating to soften slightly. Avoid storing at room temperature as the bars may become too soft.
How to Serve
Serve this delicious recipe with your favorite sides.
FAQs
Can I use a different nut butter?
Yes, almond or cashew butter can be used, but they may alter the flavor slightly. Make sure the nut butter is smooth enough to mix well with the syrup and cereal.
Do I have to freeze the bars before dipping in chocolate?
Freezing the bars first helps them hold their shape when dipped and ensures the chocolate sets quickly. It’s recommended for best results, but you can refrigerate them if you prefer.
PrintButterfingers Recipe

These homemade Butterfingers are a delightful no-bake treat combining crunchy corn flakes with creamy peanut butter and a sweet honey or maple syrup binder, all coated in rich melted chocolate. Perfect for a quick snack or dessert, these bars freeze well and offer a nostalgic candy experience with wholesome ingredients.
- Prep Time: 15 minutes
- Cook Time: 0 minutes
- Total Time: 1 hour 25 minutes
- Yield: 12 bars 1x
- Category: Dessert
- Method: No-Cook
- Cuisine: American
- Diet: Gluten Free
Ingredients
Dry Ingredients
- 2 cups corn flakes
- 1 cup chocolate chips
Wet Ingredients
- 1 cup peanut butter
- 1/3 cup maple syrup or honey
- 2 teaspoons coconut oil
Instructions
- Crush the Cereal: Add the corn flakes to a large zip-top bag, seal it tightly, and crush the cereal into small pieces using your hands or a rolling pin to ensure even texture in the bars.
- Mix Peanut Butter and Sweetener: In a large bowl, combine the peanut butter and maple syrup or honey thoroughly until smooth and well blended to provide a sticky base for the bars.
- Combine with Corn Flakes: Add the crushed corn flakes to the peanut butter mixture and stir until every piece is coated and the mixture is evenly combined.
- Shape and Freeze: Line a loaf pan with parchment paper and transfer the cereal mixture into it, pressing down firmly to create a compact and even layer. Place the pan in the freezer to set and harden for at least 1 hour.
- Cut Into Bars: Remove the hardened mixture from the freezer and carefully lift it out using the parchment paper. Place it on a cutting board and slice into 12 equal bars.
- Melt Chocolate Coating: In a microwave or double boiler, melt the chocolate chips together with the coconut oil, whisking until smooth and shiny.
- Dip Bars in Chocolate: Dip each bar into the melted chocolate to coat it fully. Lift the bar out and set it on a parchment-lined plate. Repeat for each bar until all are coated.
- Harden Chocolate: Return the coated bars to the freezer for about 10 minutes until the chocolate coating hardens completely.
- Serve or Store: Enjoy the Butterfinger bars immediately, or store them in an airtight container in the freezer for up to 3 months to keep them fresh and crunchy.
Notes
- You can substitute maple syrup with honey or another liquid sweetener based on preference.
- Ensure the peanut butter is smooth for easier mixing and better texture.
- Use full-fat coconut oil as it helps the chocolate coating set nicely.
- For a chocolate alternative, dark chocolate chips can be used for a less sweet option.
- Keep the bars stored in the freezer to maintain firmness and texture.
Keywords: Butterfingers, no-bake dessert, peanut butter bars, chocolate coated bars, homemade candy, gluten free snack