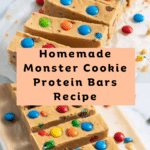
Monster Cookie Protein Bars Recipe
Introduction
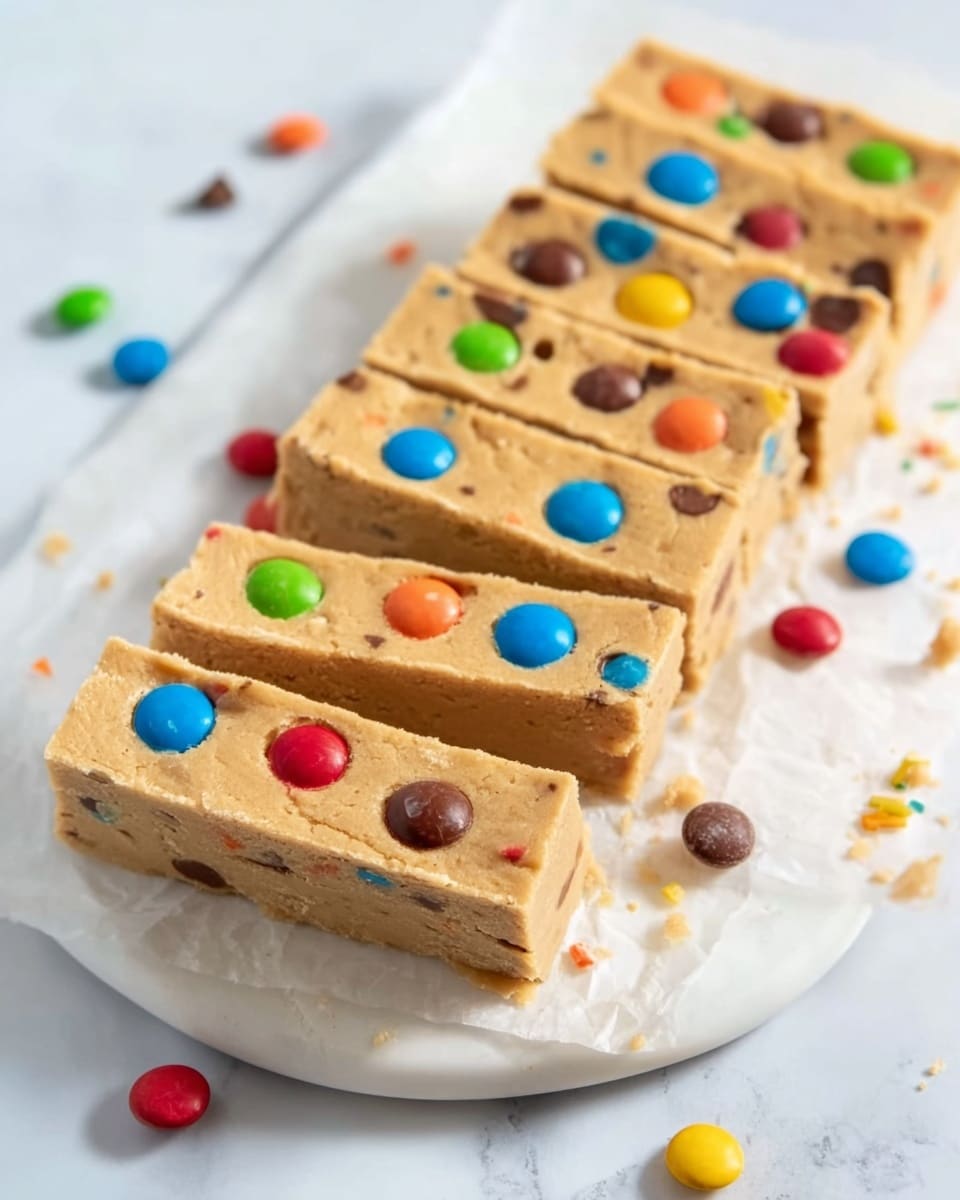
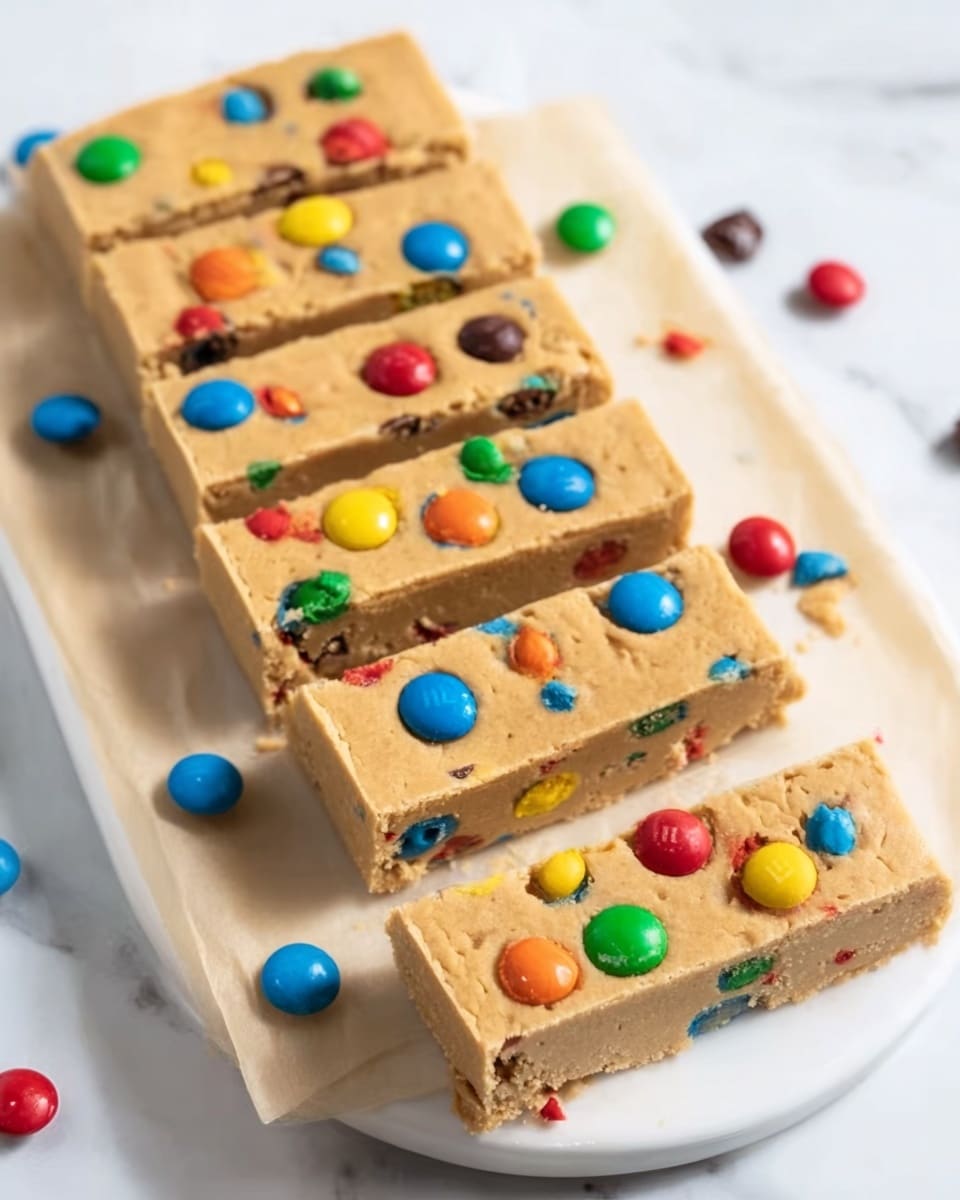
These Monster Cookie Protein Bars are a delicious and convenient way to fuel your day with protein and satisfy your sweet tooth. Packed with natural peanut butter, vanilla protein powder, and colorful mini M&M’s, they make a perfect snack or quick breakfast on the go.
Ingredients
- 1 cup creamy natural peanut butter (must be natural, the kind with oil separating out)
- 5 tablespoons maple syrup
- 1 teaspoon vanilla extract
- ½ cup oat flour (see notes)
- 60 grams vanilla whey protein powder (about ½ cup + 2 tablespoons)
- 1 tablespoon mini chocolate chips
- ¼ cup mini M&M’s
Instructions
- Step 1: In a large bowl, combine the peanut butter, maple syrup, vanilla extract, oat flour, and vanilla whey protein powder. Stir together until the mixture forms a thick protein cookie dough.
- Step 2: Mix well using an electric mixer or stir by hand with a silicone spatula until all ingredients are fully combined.
- Step 3: Gently fold in the mini chocolate chips and mini M&M’s, distributing them evenly throughout the dough.
- Step 4: Line a loaf pan or meal prep container with parchment paper. Press the dough firmly into the container using your hands or the back of a spoon to create an even, thick layer.
- Step 5: Cover the container with plastic wrap and place it in the freezer for 1 hour, or until the bars are firm.
- Step 6: Once firm, lift the parchment paper and dough from the pan. Cut into 6 to 8 bars with a knife.
- Step 7: Wrap each bar individually and store in the refrigerator for up to 1 week or in freezer bags in the freezer for up to 2 months.
Tips & Variations
- Use natural peanut butter that separates with an oily layer on top; this texture helps the bars hold together better. Avoid commercial brands like Kraft or Jif.
- If you don’t have oat flour, pulse old-fashioned or quick oats in a blender until fine to make your own.
- For a gluten-free version, use certified gluten-free oat flour or oats.
- Feel free to substitute mini M&M’s with your favorite small candies or mix-ins like chopped nuts or dried fruit.
Storage
Store the wrapped bars in the refrigerator for up to one week to keep them fresh. For longer storage, place bars in freezer bags and store them in the freezer for up to two months. Thaw frozen bars in the fridge before eating. These bars are great eaten cold or at room temperature.
How to Serve
Serve this delicious recipe with your favorite sides.
FAQs
Can I use other nut butters instead of peanut butter?
Yes, you can try natural almond or cashew butter, but keep in mind that the texture and flavor will differ slightly. Make sure the nut butter is natural and has an oily consistency for best results.
What if I don’t have vanilla whey protein powder?
You can substitute with any vanilla-flavored protein powder you have on hand, or use unflavored protein powder and add a little extra vanilla extract for flavor.
PrintMonster Cookie Protein Bars Recipe

These Monster Cookie Protein Bars are a delicious, no-bake snack packed with vanilla whey protein, natural peanut butter, and sweetened with maple syrup. Featuring mini chocolate chips and mini M&M’s for a fun, colorful crunch, these bars are perfect for a quick energy boost or post-workout treat. Easy to prepare and freezer-friendly, they’re a great grab-and-go option for busy days.
- Prep Time: 10 minutes
- Cook Time: 0 minutes
- Total Time: 1 hour 10 minutes
- Yield: 6–8 bars 1x
- Category: Snack
- Method: No-Cook
- Cuisine: American
- Diet: Gluten Free
Ingredients
Wet Ingredients
- 1 cup creamy natural peanut butter (must be natural, with oil separating out)
- 5 tablespoons maple syrup
- 1 teaspoon vanilla extract
Dry Ingredients
- ½ cup oat flour (gluten-free if needed)
- 60 grams vanilla whey protein powder (about ½ cup + 2 tablespoons)
Add-Ins
- 1 tablespoon mini chocolate chips
- ¼ cup mini M&M’s
Instructions
- Combine Wet and Dry Ingredients: In a large bowl, add the peanut butter, maple syrup, vanilla extract, oat flour, and vanilla whey protein powder. Stir together to begin forming a thick protein cookie dough.
- Mix Thoroughly: Use an electric mixer or mix by hand with a silicone spatula until the dough is well combined and smooth.
- Add Candy Mix-ins: Fold in the mini chocolate chips and mini M&M’s evenly throughout the dough to distribute the chocolate and candy pieces.
- Press into Pan: Line a loaf pan or meal prep container with parchment paper. Use your hands or a spoon to firmly press the dough into the pan, making a thick, even layer at the bottom.
- Freeze to Set: Cover the container with plastic wrap and place in the freezer. Let the bars chill for 1 hour or until firm and set.
- Cut into Bars: Lift the parchment paper out of the pan, then slice the protein dough into 6 to 8 equal-sized bars using a sharp knife.
- Store Properly: Wrap each bar individually. Store bars in the refrigerator for up to 1 week or freeze in freezer-safe bags for up to 2 months.
Notes
- Use natural peanut butter with oil separation for the best texture that helps the bars hold together. Avoid commercial brands like Kraft or Jif.
- If oat flour is unavailable, make your own by blending old-fashioned or quick oats into a fine powder.
- For gluten-free consumers, ensure oat flour or oats used are certified gluten-free.
- These bars are no-bake and require freezing to set properly.
- Protein bars can be customized by swapping mini M&M’s for other mix-ins like nuts or dried fruit.
Keywords: Protein Bars, No-Bake Snack, Peanut Butter Protein Bars, Healthy Snack, Whey Protein Recipe, Gluten-Free Protein Bars, Monster Cookie Bars